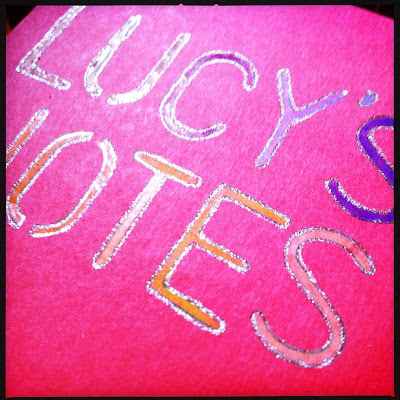
this DIY grew out of the fact that since i made bows for my niece last week, i needed to come up with a project that would round out the care package i'm sending to her and her brother. AND i (of course) seized on another opportunity to use up more of my scrap paper to create these cute little note pads with loose leaf rings.
you will need:
- a mix of plain/blank and colored paper
(if it is from magazines, make sure that the images are kid friendly)
- heavier paper for the front and back covers
(you could use a cereal box or card-stock weight paper)
- cutting mat, x-acto blade & ruler/straight edge to cut against
(i used my cutting template from a quilting class)
- loose leaf ring AKA metal book ring
(these are the type of metal rings that open - source)
- a hole punch
- pinking shears for adding texture to the edges
- pens/markers, etc for decorating the cover
1. stack your papers and start cutting/trimming them so they have at least one edge that matches up. i was not super precise about size - basically cutting once and then cutting that pile in half again. it does not have to be perfect or it would take way too long! one straight side is all you really need.
2. hopefully, you end up with a couple piles of paper that are similar sized. now, start cutting the right edges with pinking shears and stack the sheets so they gradually go from narrowest on the top to widest on the bottom. keep in mind that the left edge should still be lining up.
3. take the small sheet currently on top of the stack and lay it on your heavier card stock to use as a template to cut out the cover. do the same thing with the largest last piece for the back cover as well. time to decorate the cover...the possibilities here are endless!
4. punch the upper left-hand corner of the cover...use this as your guide to punch the rest of the sheets you have stacked. my hole punch is VERY dull, so i could only do a few sheets at a time. then put the punched sheets on the metal ring.
5. don't forget about adding a sweet note in the back or packaging them with some pencils/pens for a complete little giftlet made and given with love!
(i have come to realize, through these DIY projects, that my cutting mat is in embarrassingly rough shape! adding that to my budget for next month.)


No comments:
Post a Comment